Overview:
Adobe Photoshop is an image-editing programme based on raster images and pixels. It uses algorithms to help users manipulate images, and is capable of many incredible functions, such as content-aware actions, which “think along” with the user and alter the picture according to pixel placement. Resolution and colour workspaces are very important in Photoshop, and it is always good to know the required dimensions, resolution and color space of your project before beginning work.
“It’s basically witchcraft.”
-Photoshop Tutor
Notes:
- The Basic Setup
- Accessing the workspace
- Window » Workspace » Essentials » Reset Essentials
- You are able to customize the workspace
- The initial dialogue box has its own presets, but can be customized
- Size
- Colour modes
- Backgrounds
- White, black, transparent, or custom
- Some standards and considerations
- A4 paper is 210 by 297 mm
- An A4 page with 300 dpi is a LARGE file
- Resolution and Colour
- Resolution refers to pixels per inch
- The more resolution, the higher the quality, the larger the file size
- Whether this matters will depend on the job at hand
- Web resolutions are smaller than print because high quality is not necessary and a fast loading speed is preferred
- The more resolution, the higher the quality, the larger the file size
- Accessing the workspace
| Web | Digital | ||
| Resolution | 300 DPI | 72 DPI | 240 DPI |
| Color Mode | CMYK | RGB |
- Colour Modes and Profiles
- RGB, CMYK, Greyscale, Bitmap
- RGB for screen
- CMYK for print
- Greyscale for black and white
- Bitmap for a retro look
- Limits your document to a certain colour palette
- The preferred RGB is Working RGB: Adobe RGB (1998)
- Better color system
- sRGB was created earlier by Microsoft and HP and is compatible with most systems
- RGB, CMYK, Greyscale, Bitmap
- In the Workspace
- At the top of the workspace by the document name, the zoom and colour mode you are in is available
- Untitled-1 @16.7% RGB/8
- Name @ (this percent zoom in the current view) (colour mode) (however many bits)
- Window » Navigator
- Here, you can see where you are zoomed in and change the viewing window
- History
- Photoshop generally only allows one undo action
- This can be changed in preferences
- Access the window » history panel for more steps back
- Can save snapshots of progress in this panel
- At the top of the workspace by the document name, the zoom and colour mode you are in is available
- Layers
- Allow you to manipulate individual components and layers
- Layers can toggle by clicking the eye
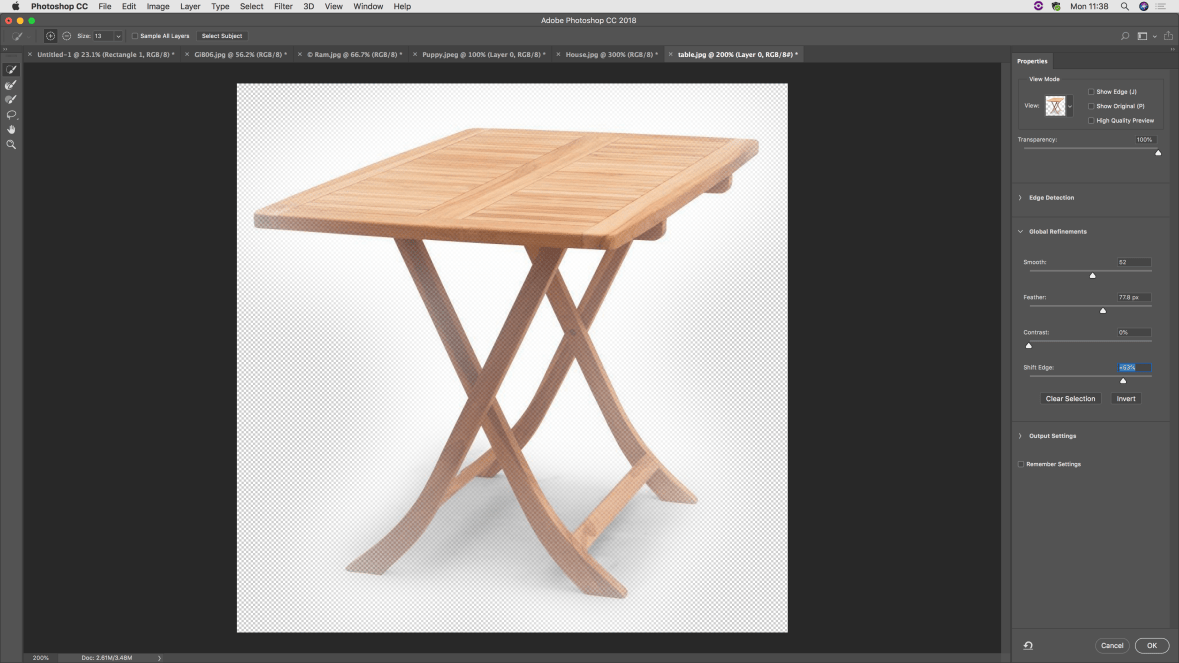
- A grey and white checkerboard background is indicative of transparency
- Used in PNGs and TIFF files, etc.
- Used to print in the colour of the substrate
- For web and other applications
- Always be aware of which layer you have selected
- Renaming layers is useful in this case
- To alter the properties of layers
- Layer » layer style
- Or bottom right » FX
- Layers are arranged in a hierarchy
- You can select a layer from another file and drag it into a workspace
- Text
- While using the text tool, any additions made are made in relation to the text, not to the document
- When you click “centre” while the text is selected, it is centered in the text box, but not in the document
- Scaling and Selection
- Scaling
- Content-aware scale
- Scales the entire image into a different proportion based on pixel data
- Select » select inverse
- Double check your selection or select inverse side of the canvas
- If you scale a high quality image down too much or a low quality image up too much, the quality will dramatically decrease
- Content-aware scale
- Selection tools
- Marquee selections
- Lasso tool
- Freehanded selection
- Magnetic lasso
- Polygonal lasso
- Polygons
- Rectangles
- Ellipses
- Hold shift for circles
- Magic Wand
- Content-aware selection based on tolerance
- Tolerance
- The strictness of the selection based on the colour of the image’s pixels
- The higher the tolerance, the more you can select, the lower, the less
- Quick Selection
- Similar to magic wand
- Select Subject option at the top will give you the foreground of an image
- Shift to add to a selection
- Alt to subtract from one
- Lasso tool
- Marquee selections
- Scaling
- While using the text tool, any additions made are made in relation to the text, not to the document
- Tools
- A triangle by the tools on the toolbar indicates that there are more tools available
- The move tool
- Basic selector
- Click “show transform controls” to see the ways in which you can alter the selection
- Scale
- Rotation
- You can use your mouse to round corners on a shape
- When linked, each side rounds in the same way
- Crop tool
- Change image crop and canvas size
- Press shift and drag to constrain proportions and keep the aspect ratio
- Tick to perform crop
- If you check the box at the top labeled “delete crop pixels”, Photoshop will throw away the pixels
- Unchecking this will keep the pixels and just change the canvas size
- Straighten
- Click and drag to perform straightening operation
- You chose the horizon line
- Healing brushes
- The Band-Aid icon
- Healing brush
- Use alt to select source area
- Spot healing tool
- Uses content-awareness
- No selection required
- Used to cover up part of the image
- Patch tool
- Make a selection with a lasso-like tool
- Click and drag to desired area
- Used to cover up part of the image
- Clone stamp
- Similar to healing brush
- Press alt and click to select a sampling area
- Used to draw on the image
- Content-Aware Movement
- You cannot see where you have moved the image from
- You may be able to see where you moved it to, but if you edit the structure and color, this may become less obvious
- Saving and File Types
- If you plan to keep working, save as a .PSD or .TIFF
- You will lose the ability to edit layers otherwise
- JPEG
- Compressed
- Reduces information and quality
- You lose the ability to edit layers
- If the quality of an image is decreased, so is its size
- Direct relationship
- Files used for the web are smaller and compressed
- If you plan to keep working, save as a .PSD or .TIFF
- Shortcuts
- Command N » New File
- Command + » Zoom In
- Command – » Zoom Out
- Command 1 » Zoom to 100%
- Command 0 » Fill Screen
- Command Z » Undo
- Command O » Open
- Command D » Deselect Everything
- Command A » Select Everthing
- Command C » Copy
- Command V » Paste
- Right bracket ( [ ) » Make brushes smaller
- Left bracket ( ] ) » Make brushes bigger
- Select and V » Cut and move
- Space Bar » Hand tool to move artboard
- Effective any and every time except when using the type tool
- V » Move tool
- Effective any and every time except when using the type tool
- Layers (layer » arrange)
- Command left bracket » send backwards
- Command right bracket » send forwards
- Command shift left bracket » send to back
- Command shift right bracket » send to front
Classwork


Top: The Photoshop workspace and initial experimentation with dragging layers
Middle: Exercises in selection, layers (left), and content-aware scaling (right)
Bottom: Experimentation with the select and mask option of the quick select tool (very, very useful)
