Procedure and Class Notes
Health and Safety
- Sensible footwear
- No open toes
- No open heels
- No slippers
- No drinks or food
- Long hair has to be tied
- Lanyard tucked in
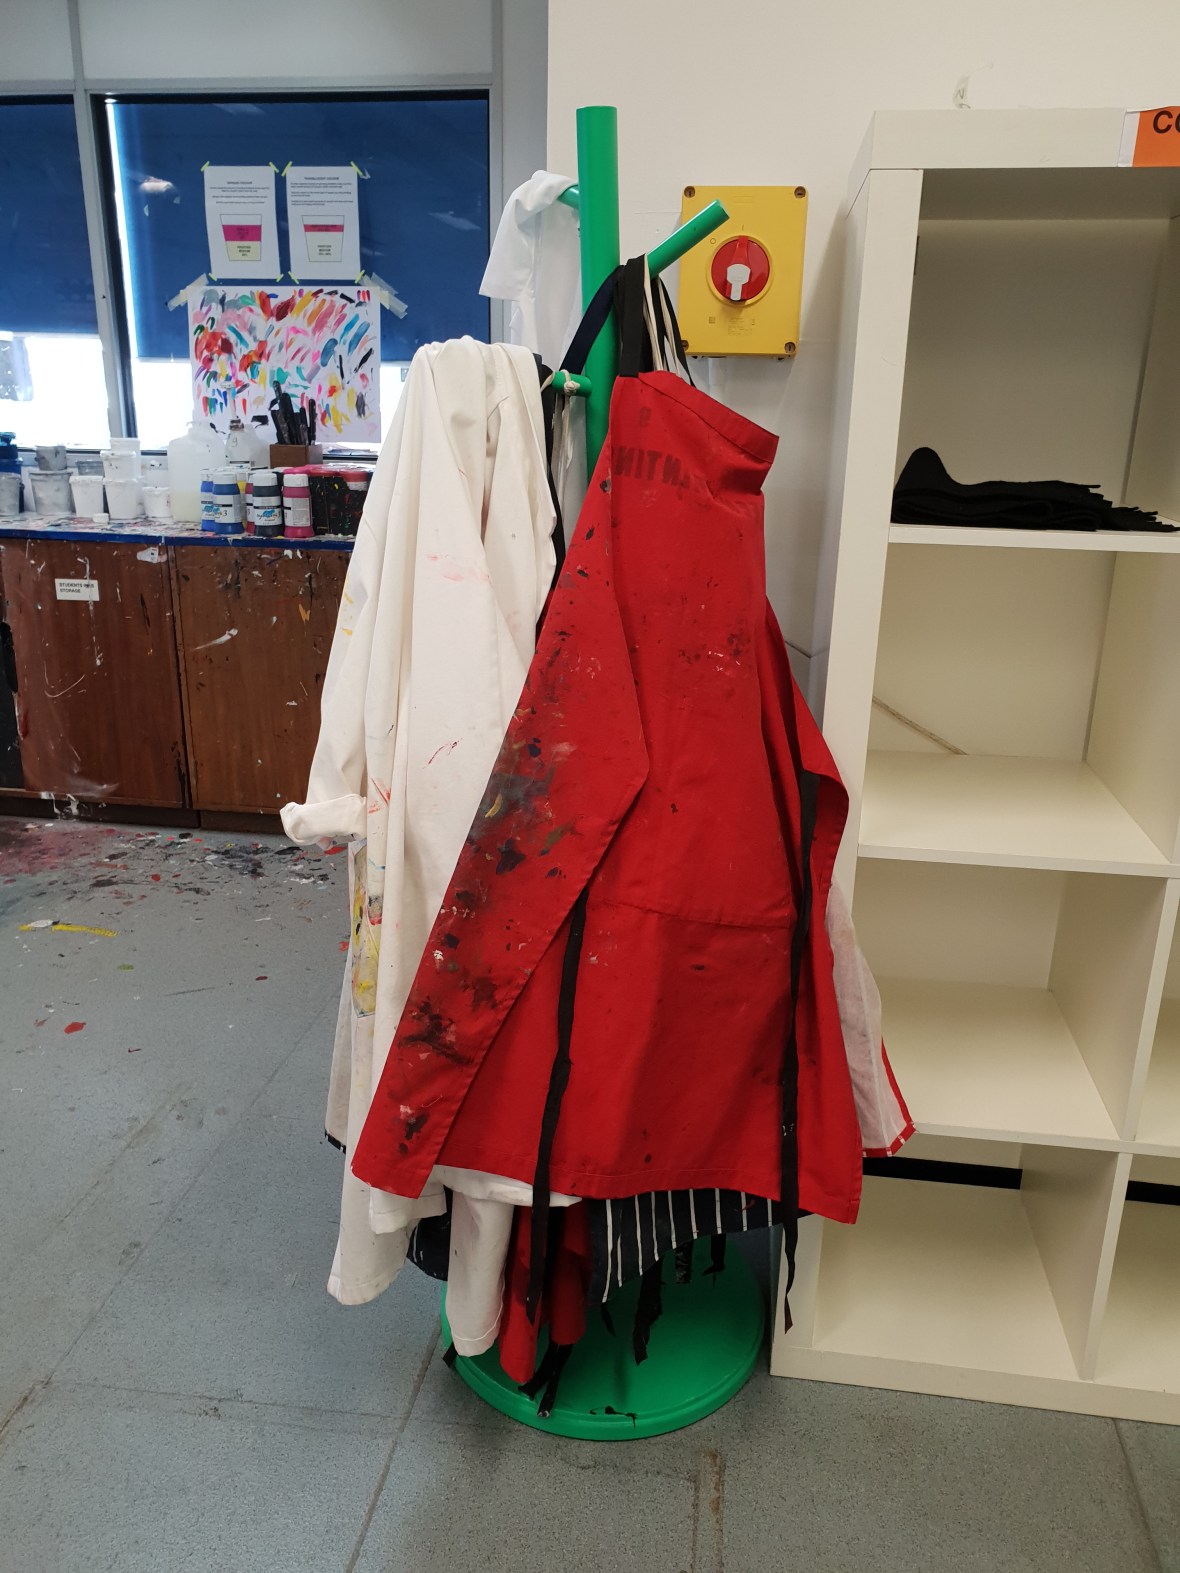
- Don’t wear nice clothes
- Wear aprons
Printing with the Screen
- You can print on anything flat
- Screenprinting is done in layers, one color at a time
- However, you can end up with more colors on the sheet than you printed because of overlays and overlaps
- Stencil-Based Process
- Can use paper to block off areas of the mesh to print
- Photographic stencils most commonly used
- Emulsion is exposed to UV light over the positive
- Emulsion hardens where the light shines through and remains soft where the positive is
- The un-hardened emulsion is washed off and the image remains in the screen mesh
- Positives
- Image of what will be printed in different layers of color
- Can be done in many different ways
- Marker
- The Screen
- A screen is made up of a frame with mesh fabric
- The screen is fragile
- Always check for sharp objects
- When using scissors, always cut away from the screen

Ink
- The ink used for screen printing is water based
- Acrylic mixed with the printing medium
- Cannot print without it
- Without the medium, it is far too much
- Acrylic mixed with the printing medium
- Ink is free at LCC
- Unique inks
- Metallic
- Thermo
- Conductive
- Glow in the dark
- Mixing ink
- Place printing medium in the container first
- Doing this will prevent the ink from sticking to the side
- Use 50% or more medium per ink mix
- The more medium, the more transparent it is
- Use the spatula to stir the paint in
- Mix acrylic into the middle and move to the outside
- Test on both white paper and the same kind of paper you will be using for your project
- Gives you a better understanding of how it will turn out
- Place printing medium in the container first
- Ink is usually applied from lightest to darkest
- Sometimes this is the only way layering will work properly, but it depends on the color, paper, and projects
- If you want to print neon on black, do the print in white first and then lay it over on top
- Preparation is key
- Do not store ink on the table so it does not get on your project
- Store it below the table or next to you, but be careful of blank paper next to you


Steps
- Tape out the screen
- Stops the ink from going through the edges of the screen and onto the table
- Makes cleaning easier
- Procedure
- Stretch out tape longer than the screen
- Pull so the tape bends in half
- Put the tape down, half on the mesh and half on the frame
- Smooth down and create as few wrinkles as possible
- Preparing the Handbench
- Also known as screen bed
- Holds the screen while printing
- Holes in the bed act as a vacuum and suck the paper to the bed when printing
- Weights are attached to the back of the handbench and keep it up and down as necessary
- You must keep control over this so it does not snap back
- Handbenches also have a squeegee arm
- Allows you to apply even pressure on large substrates
- When leaving, always make sure to tighten the knobs and leave the handbench up
- Placing the Screen
- Open the side arm
- Place the screen flat on the table
- Position the screen and place it on the sidebar so there is a gap between the table and the screen
- This gap is called the “snap” because the screen literally “snaps” back to the original form after printing
- This is ALWAYS present when printing on hard surfaces, but NEVER present for textiles and soft surfaces
- Tighten the arm just enough to hold the screen
- Clamps click in place


- Positioning and Registration
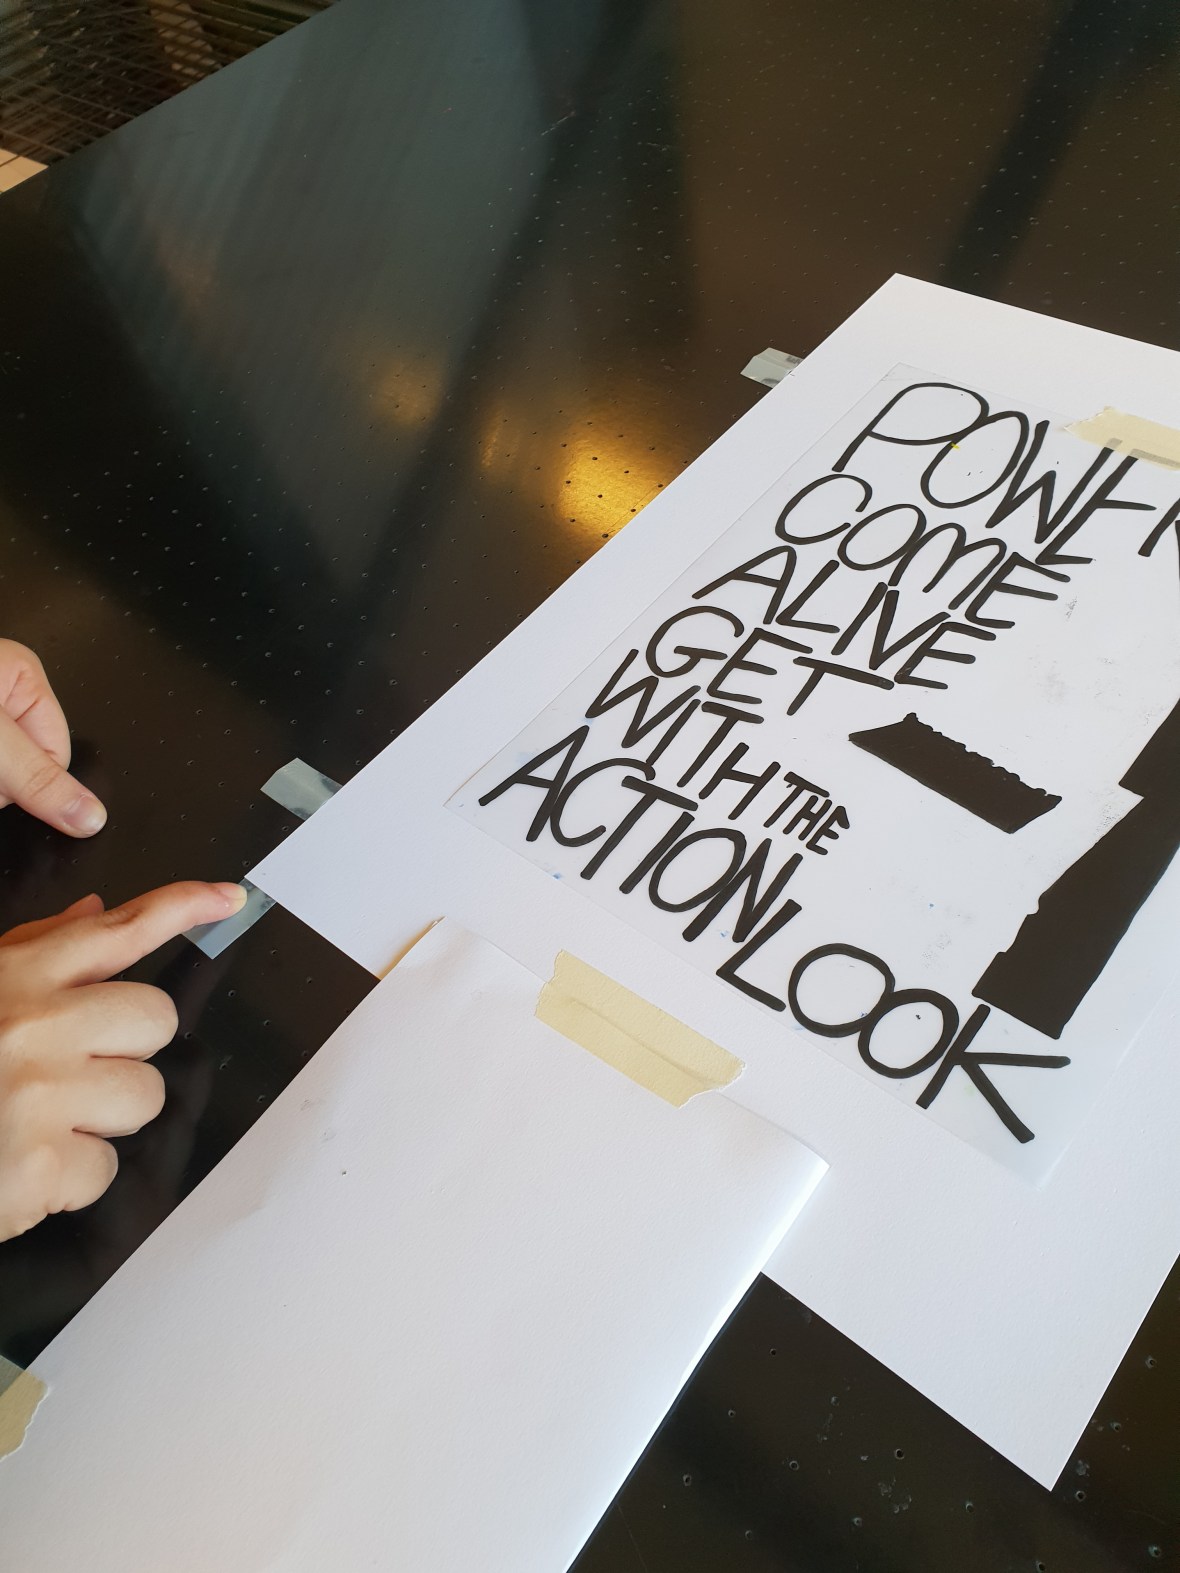
- Position the positive where the print should be on the page
- Tape the positive in place
- Fold a piece of paper and attach it to the bottom of the paper (known as a “helpful arm”)
- Use the helpful arm to alight the page underneath the screen
- Tape the arm to the table
- Tape the paper to the table
- Position the positive where the print should be on the page
- Remove the arm and stick it to the side of the table for further use


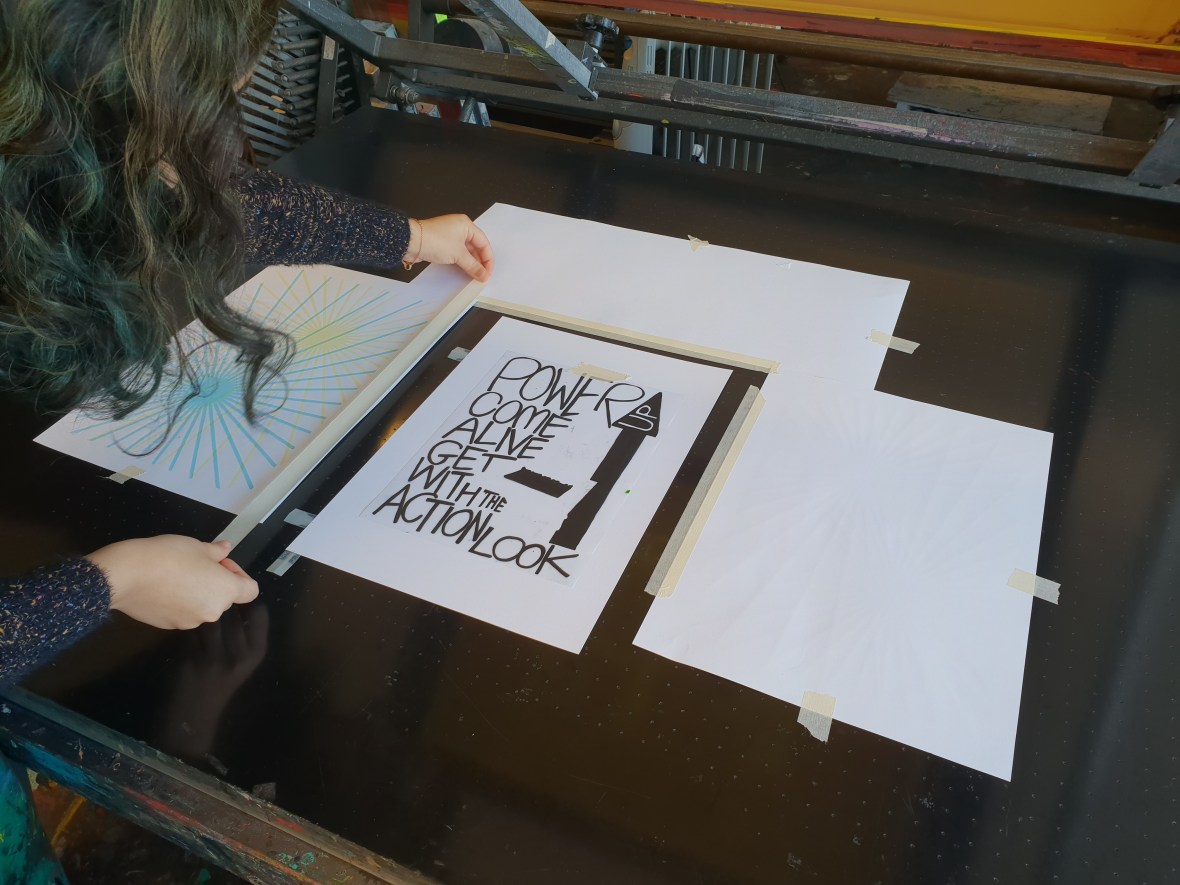
- Align Lay Stops
-
- Place three tented lay stops on the corner and one side of the aligned print to mark where the paper needs to be for printing
- Called “3-point-registration”
- Only one side necessary because paper sizes vary slightly per individual page
- Mark where the middle of the tented lay stops fall on the page
- This helps if you want to return to the design
- The sheet which is marked up is called the “lay sheet” and it is the master copy
- Place three tented lay stops on the corner and one side of the aligned print to mark where the paper needs to be for printing
- Registration
- To register means to line up the different colors and screens so that the design falls correctly and the overlay colors print well
- Use lay stops and the helpful arm to do this
- Mask out the table
- Small pieces of tape on the outside and longer pieces of tape on the inside so the pages do not flutter
- Keeps the holes clean
- Covering the holes makes the suction stronger
- Do NOT cover the lay stops
- Select your squeegee
- The squeegee is a handle with a rubber blade
- The purpose of a squeegee is that it pushes ink through the holes in the mesh
- Select a squeegee just slightly bigger than the image itself for full and even coverage
- Start printing
- The printer is the only one in charge of the machine at this point
- Turn the vacuum on to keep the paper in place
- It will automatically turn on and off because of an internal mechanism during the process
- Lower the handbench and lean it on your hip above the printing surface
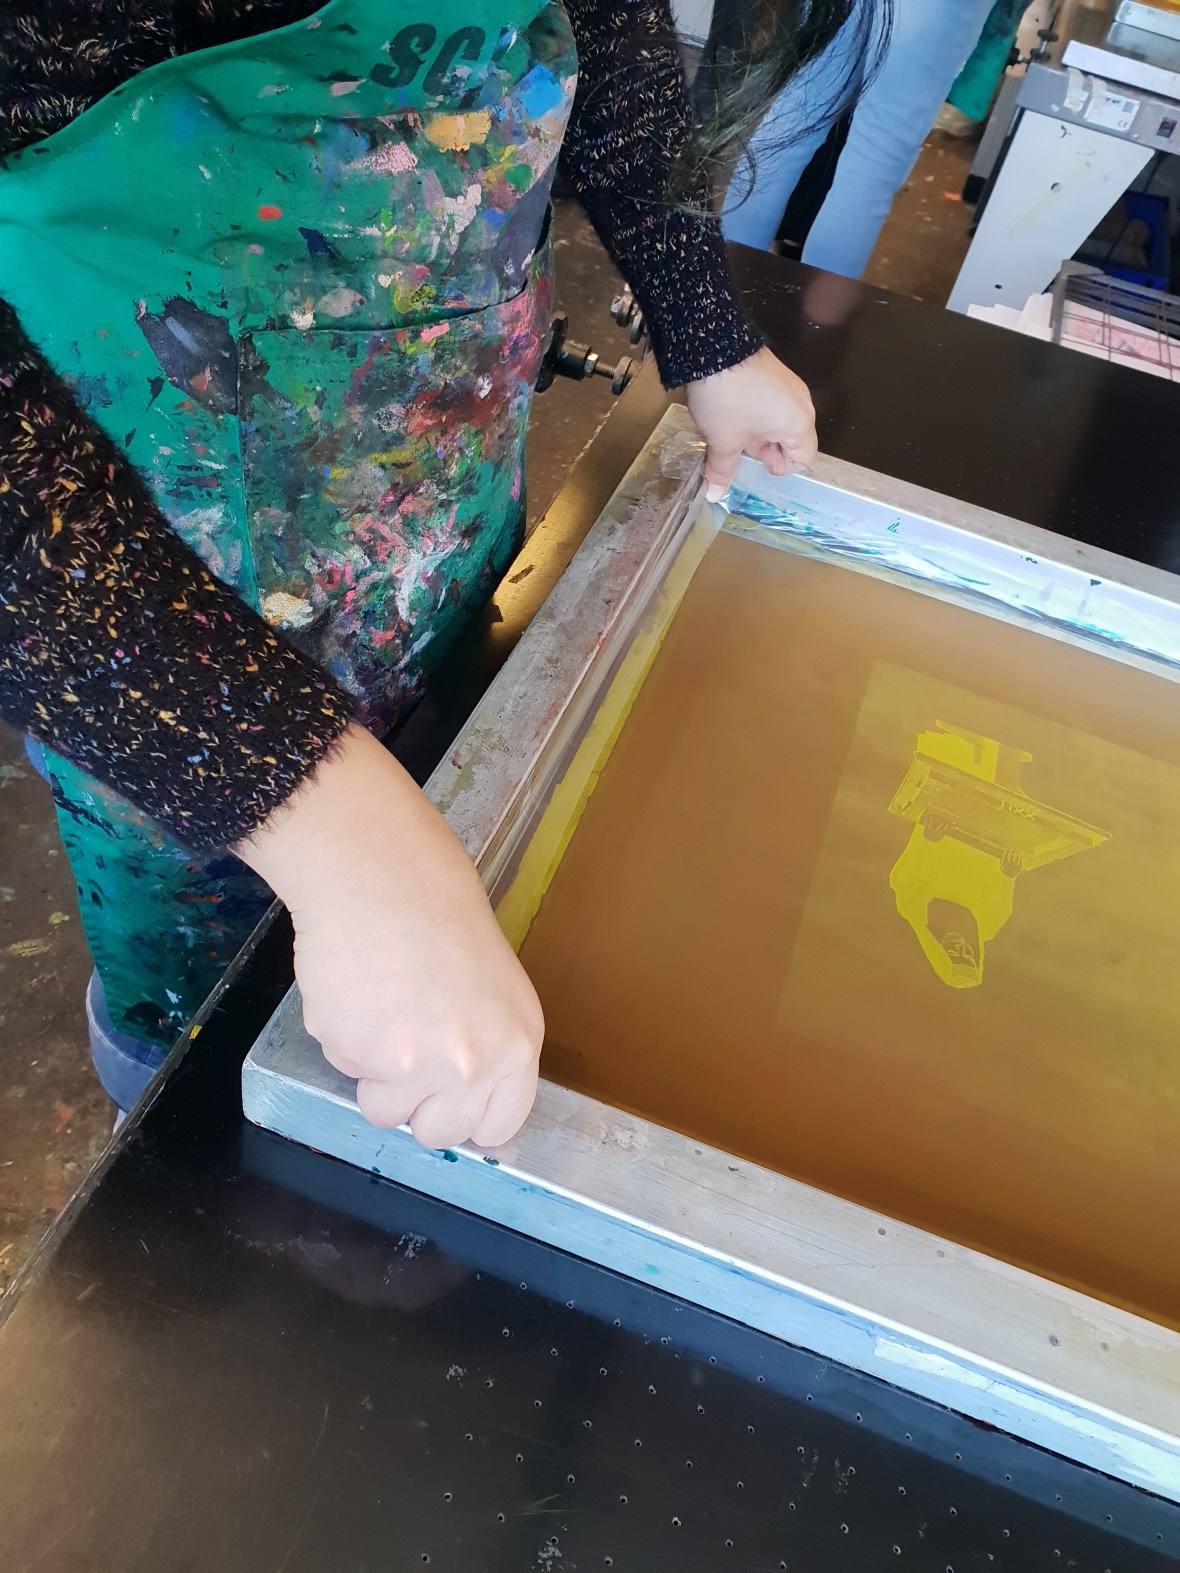
- Flood the screen
- Place ink in the front and pull towards the back
- You don’t need to push down hard
- Always make sure there is fresh ink, otherwise, it will come out streaky or not at all
- Dries very quickly
- Cover the entire width of the squeegee
- One stroke back to flood and one stroke back to print


- Print
- Lower the handbench onto the table
- Pick up the squeegee from the back
- Press down with both hands and pull towards you
- When finished, flood again and place squeegee in screen
- Raise handbench and remove the print
- Keep the lay sheet


- Cleaning
- Cleaning is done in place on the table
- Scoop up ink with reusable plastic card
- After this, spray the screen with water
- Use rags and squeegee to push ink onto a scrap paper below
- Wash the bottom of the screen
- Dry with rag
- Additional printing parts
- Repeat above steps
- Use lay sheet to register
- Always print on lay sheet first for every layer
- Use the handy arm and positive to reposition
- Print again


